It’s OCTOBER! Why does September always go so quickly? As I think forward to the end of the month, I’m already thinking about how to keep my students actively learning around the craziness that is Halloween. Unfortunately, Halloween never seems to be on a Friday. It always happens to be in the middle of the week. It is always a LLLOOOONNNNGGGG week. I’m here to help you! Let me introduce you to the Pumpkin Investigation!
This post contains affiliate links to Amazon. By purchasing an item on the Amazon site using these links, I will receive a small commission on your purchase. This helps me continue writing this blog and providing you with teaching tips and ideas. Thank you!
Doing a pumpkin investigation is one of the best ways to keep your students engaged and learning around Halloween time. Which, did I mention, is my LEAST favorite holiday? I’m not one for masks, scary costumes or spooky noises. My students and own children love it, though, so I embrace it. ????
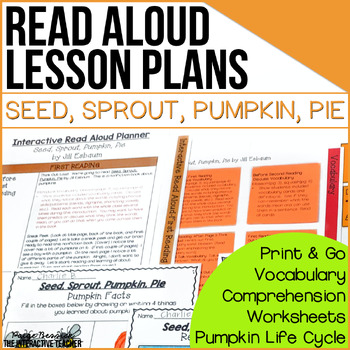
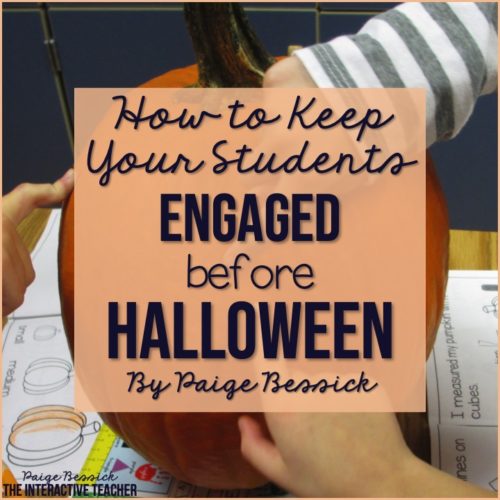
The pumpkin investigation brings in math and science while keeping students actively learning and working together. This product has over 20 pages you can choose from to create your pumpkin investigation mini-book. I usually take 3 days to complete this, but you could take more or less time depending on how many activities you want to do.
Click >>HERE<< or on the image below to see this resource!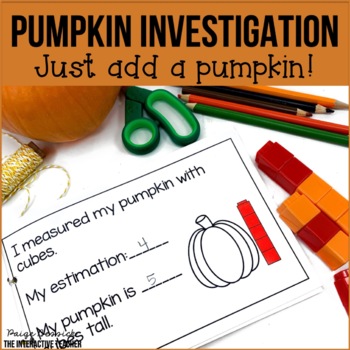
To start your investigation, you need to get pumpkins for your class. I recommend having enough pumpkins to create groups of 4-5. I bought a couple and then I had parents donate pumpkins to our class. Each group had their pumpkin that they worked with for the couple days we did our investigating.
Estimating and Describing
The first thing you’re going to want to do is complete all of the estimating for your pumpkin. A lot of the pages involve measuring or counting and they include a spot for estimating. I know my firsties are currently working on estimating, and they still definitely need help making appropriate guesses. Here’s a great time to practice. You will want to estimate the number of ribs, how many cubes tall it is, how much it weighs, how many seeds, etc. I usually do this on the first day of our investigation.
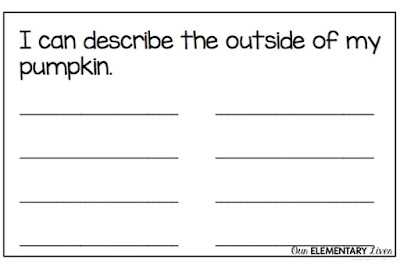
Also on the first day, I have the students describe the size of the pumpkin and we brainstorm words that describe the outside of the pumpkin.

Measuring and Cleaning
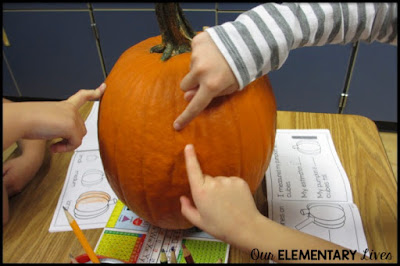
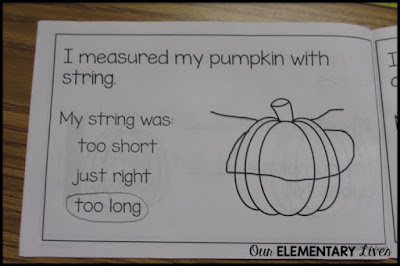
The next day, we spend most of the time measuring our pumpkin. We use a tape measure, Unifix cubes, string, scale and any other tool you need for the pages you choose. Click on any of those links to see which ones I use in my classroom.
We also clean out the pumpkin on this day. I cut a hole in the top and pull the stem out, and then I let them go at it cleaning it out. Some kids are all about it and will dig right in. Others won’t even touch the pulp. It’s interesting to see who likes it and who doesn’t. You can also tell who has carved pumpkins at home and who hasn’t.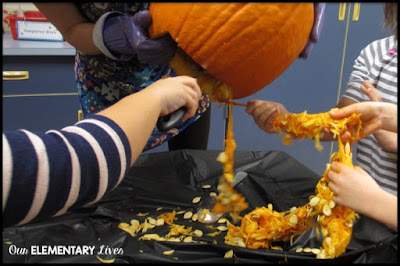 I have each group put their seeds in a bowl or on a plate and we work to separate the seeds from the pulp. I keep each group separate so that when we go to count the seeds tomorrow, they have the right set of seeds from their pumpkin.

Carving and Counting
The final day, which I like to do on Halloween in their costumes, includes all things carving and counting. I have parents come in and work with the groups to help them carve. They have to decide as a group what they want their pumpkin to look like and I have them draw out what it should look like. The parents then do most of the carving after the kids have drawn the design.


One of my favorite books to read aloud with the counting of the pumpkin seeds is How Many Seeds in a Pumpkin? by Margaret McNamara. It goes perfectly with this activity as the book is all about counting seeds. The kids have to figure out how to count the seeds and discuss the amount of seeds in different sized pumpkins.
Tasting and Graphing
On another day, after carving and counting, I take some time to roast the pumpkin seeds and we taste the seeds. Some kids have had them, others have not. A few kids love them, others do not. And a couple more won’t even try them.
The very last activity I do is graph the taste test, whether the kids like the roasted seeds or not. One of the page options is for making pumpkin pie if that’s more your jam. I can typically only handle roasting the seeds, but do whatever works for you and your class.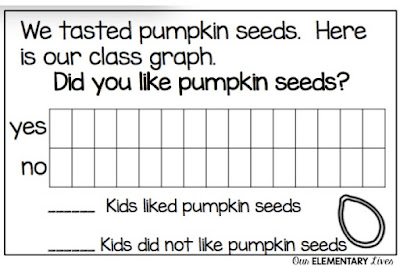
Top Tips!
Here are some of my tops tips to help make this go smoothly:
- Buy the pumpkins or have parents donate the pumpkins. If a parent donates a pumpkin, that kid gets to take it home.
- Buy plastic tablecloths from the dollar store. They were a lot easier to use than newspapers and I didn’t have to collect enough newspapers for 4 groups of kids. I covered the tables every day we used the pumpkins. I was able to cut the large rectangle banquet table clothes in halves to fit my tables. >>HERE<< some from Amazon that would work too.
- If you’re having a hard time separating the seeds from the pulp, put the seeds in a bowl of water. The seeds tend to float and the pulp sinks. It’s also easier to rub the seeds with your hands in the water and get the pulp off of the seeds. Have the kids do this if you’re brave.
- Buy or have parents who come in to carve donate or bring their carving supplies. Be careful about kids bringing in carving knives. I bought cheap knives from the Dollar Store just to have for this purpose and I reuse them year after year.
- When making the book, print any of the pages you want and copy front to back. Then cut in half and staple into a book.
- I typically raffle off the pumpkins I buy to see who gets to take the pumpkin home. Some kids definitely get upset, but it’s a lesson in choosing fairly and not always getting your way.
- Try this with mini-pumpkins. Being 9 months pregnant one year around Halloween, I’m wasn’t quite sure I’m was up for the whole thing. BUT, I thought it would be fun to still do so everyone got their own little mini-pumpkin. You could still do all of the measuring and such and then you could paint the pumpkins or decorate with sharpies. Most pumpkin patches have minis for under a dollar and might even donate some if you tell them you’re a teacher.

